⚡ Direct Answer: How to Remove Etched Hard Water Spots from Glass
When acidic cleaners like vinegar fail, hard water minerals have chemically corroded and etched microscopic craters into the glass surface. The only physical fix is cerium oxide glass polishing: mix high-grade cerium oxide powder with distilled water into a creamy slurry, attach a dense rayon or felt buffing pad to a variable-speed cordless drill (1,200–1,800 RPM), and buff the glass in overlapping circles while continuously misting with water to keep the surface cool and restore optical clarity.
You soaked your shower glass in heated white vinegar. You scrubbed with baking soda, lemon juice, Bar Keepers Friend, and even scraped carefully with a fresh razor blade. The glass felt clean while wet—but the moment it dried, those cloudy, milky white spots reappeared exactly where they were.
Most homeowners assume they just need a stronger acid or more elbow grease. In reality, you are no longer dealing with surface mineral deposits. Your glass has suffered chemical surface etching (Type 3 Hard Water Damage).
As a family health advocate and home wellness specialist, I hate seeing homeowners spend $800 to $1,500 replacing shower enclosures or double-pane windows that could easily be restored. Here is the complete, science-backed guide on how to remove etched hard water spots from glass using professional chemical-mechanical polishing (CMP) at home.
The 3 Stages of Hard Water Damage (The Fingernail Test)
Glass appears smooth, but silica is actually a porous, amorphous solid. When mineral-rich tap water (containing calcium, magnesium, and silica) sits on glass repeatedly, it advances through three distinct stages:
- Stage 1: Topical Mineral Scale (Surface Staining): Dissolved minerals sit on top of the glass. The glass underneath is undamaged. This stage dissolves easily using our acid-dwell vinegar routine for shower glass.
- Stage 2: Alkaline Bonding: Heat and soap scum accelerate the reaction, locking minerals tightly into microscopic pores. Mild abrasives like calcium carbonate powders lift these out.
- Stage 3: Subsurface Chemical Etching (True Etching): Alkaline minerals sit on wet glass for months or years. The calcium and silica in the water leach sodium ions out of the glass structure, chemically altering and eating microscopic pits into the pane. The white spots you see are not dirt—they are physical micro-craters where the glass has corroded.
🔍 The Fingernail Scratch Test:
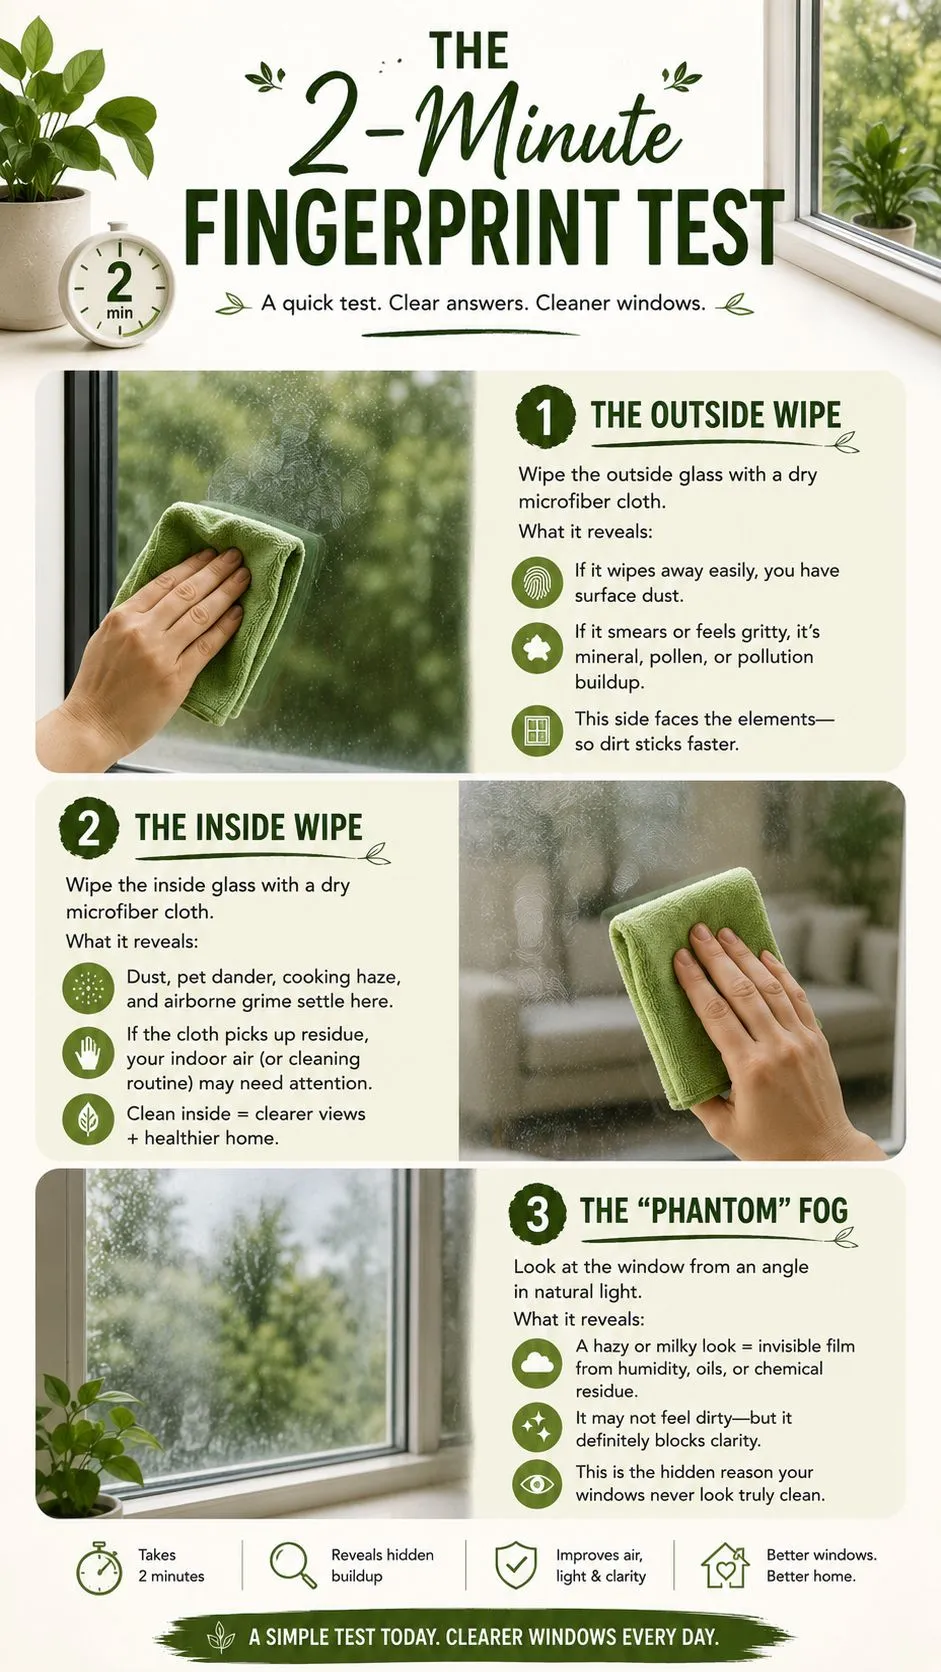
Thoroughly dry the glass and drag your thumbnail across the cloudy spots. If your nail catches on raised, chalky bumps, it is Stage 1 or 2 mineral scale (treatable with acid descalers). If the surface feels rough, pitted, or has microscopic dips like sandblasted glass, it is etched. Acids cannot fix holes in glass—it must be physically polished flat.
Why Vinegar & Acids Cannot Fix Etched Glass
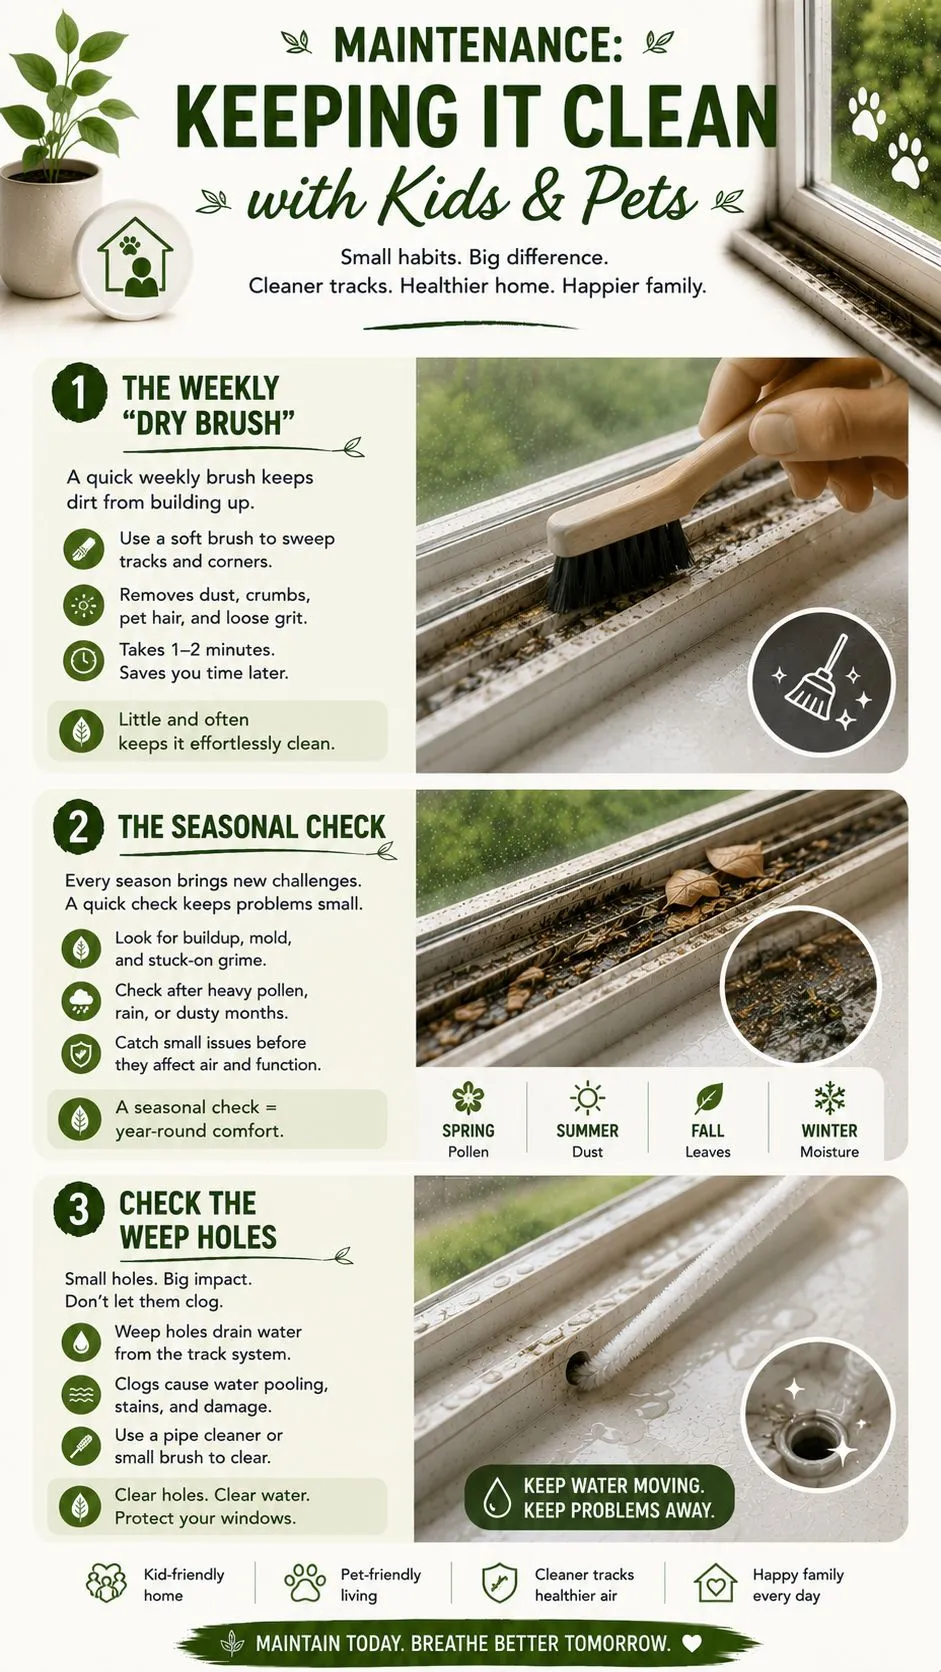
Vinegar, muriatic acid, and citric acid work by dissolving alkaline mineral scale through chemical neutralization. But once mineral scale has etched the glass and been washed away, applying more vinegar is like pouring vinegar on a pothole in an asphalt road—it cannot fill or smooth out the missing material!
To restore optical transparency, you must level the microscopic crater rims until the entire pane reflects light at the exact same angle. The only way to do this without scratching glass is with Cerium Oxide.
The Magic of Cerium Oxide (Chemical-Mechanical Polishing)
Cerium oxide (CeO2) is a rare-earth mineral compound used by precision telescope makers, automotive windshield restorers, and optical lens manufacturers. Unlike sandpaper or baking soda (which mechanically scratch glass), cerium oxide works through a dual chemical-mechanical polishing (CMP) process:
- Chemical Reaction: When mixed with water and subjected to frictional heat, cerium oxide breaks down the outer nanometer of hydrated silica molecules.
- Mechanical Shearing: The dense felt buffing pad shears away the softened microscopic peaks, smoothing the glass flat at a molecular level without creating swirl marks.
Required Equipment for Glass Buffing at Home
🛠️ DIY Glass Polishing Kit Checklist
- High-Grade Cerium Oxide Powder (90%+ Optical Purity): A complete Glass Polishing Cerium Oxide Kit with Drill Backing Pad includes the polishing compound and backing hardware.
- Dense Felt or Rayon Buffing Discs (3-Inch): Felt pads hold the slurry and provide the firm, flat pressure needed to level glass.
- Variable-Speed Cordless Drill: A standard drill set to low/medium speed (1,200 to 1,800 RPM). Never use an impact driver or high-speed rotary grinder.
- Spray Bottle with Distilled Water: The most crucial safety tool! Keeping the glass lubricated prevents heat buildup that can shatter tempered glass.
- 3M Painter’s Masking Tape: To tape off rubber gaskets, chrome hinges, and silicone caulk.
- PPE: Safety glasses and a dust mask when mixing the dry powder.
Step-by-Step: The 6-Step Cerium Oxide Buffing Protocol
Step 1: Prep and Mask All Hardware
Wash the glass thoroughly with alcohol or glass cleaner to ensure zero loose sand or grit remains—any stray grit caught under a spinning buffing pad will scratch the pane! Use painter’s tape to cover chrome handles, brass hinges, and silicone edge seals, as cerium oxide slurry is difficult to clean from porous rubber.
Step 2: Mix the Pancake-Batter Slurry
In a small plastic container, mix approximately 2 tablespoons of cerium oxide powder with 2 tablespoons of warm distilled water. Stir until it forms a creamy slurry with the consistency of thin pancake batter. If it is too watery, it will splatter across the room; if it is too thick, the drill will bog down.
Step 3: Prime the Buffing Pad
Dampen your felt pad with a mist of water, then spread a tablespoon of the cerium oxide paste directly onto the pad face and press it against the glass before turning on the drill (this prevents slurry from slinging everywhere).
Step 4: Polish in Overlapping Figure-8 Patterns
Set your drill to medium speed (approx. 1,500 RPM). Apply moderate, even pressure—about 5 to 8 pounds of pressure—and move the pad slowly in continuous, overlapping figure-8 or circular patterns over a 1-square-foot section. Spend about 3 to 5 minutes per section.
Step 5: The Critical Rule: Keep It Wet!
Never let the cerium oxide dry out while buffing! As the spinning friction warms the glass, the slurry will begin to haze. Keep a spray bottle of distilled water in your free hand and mist the glass every 30 to 45 seconds to keep the surface cool and wet. If tempered shower glass overheats locally, thermal shock can cause it to shatter.
Step 6: Wipe, Inspect with a Backlight, and Repeat
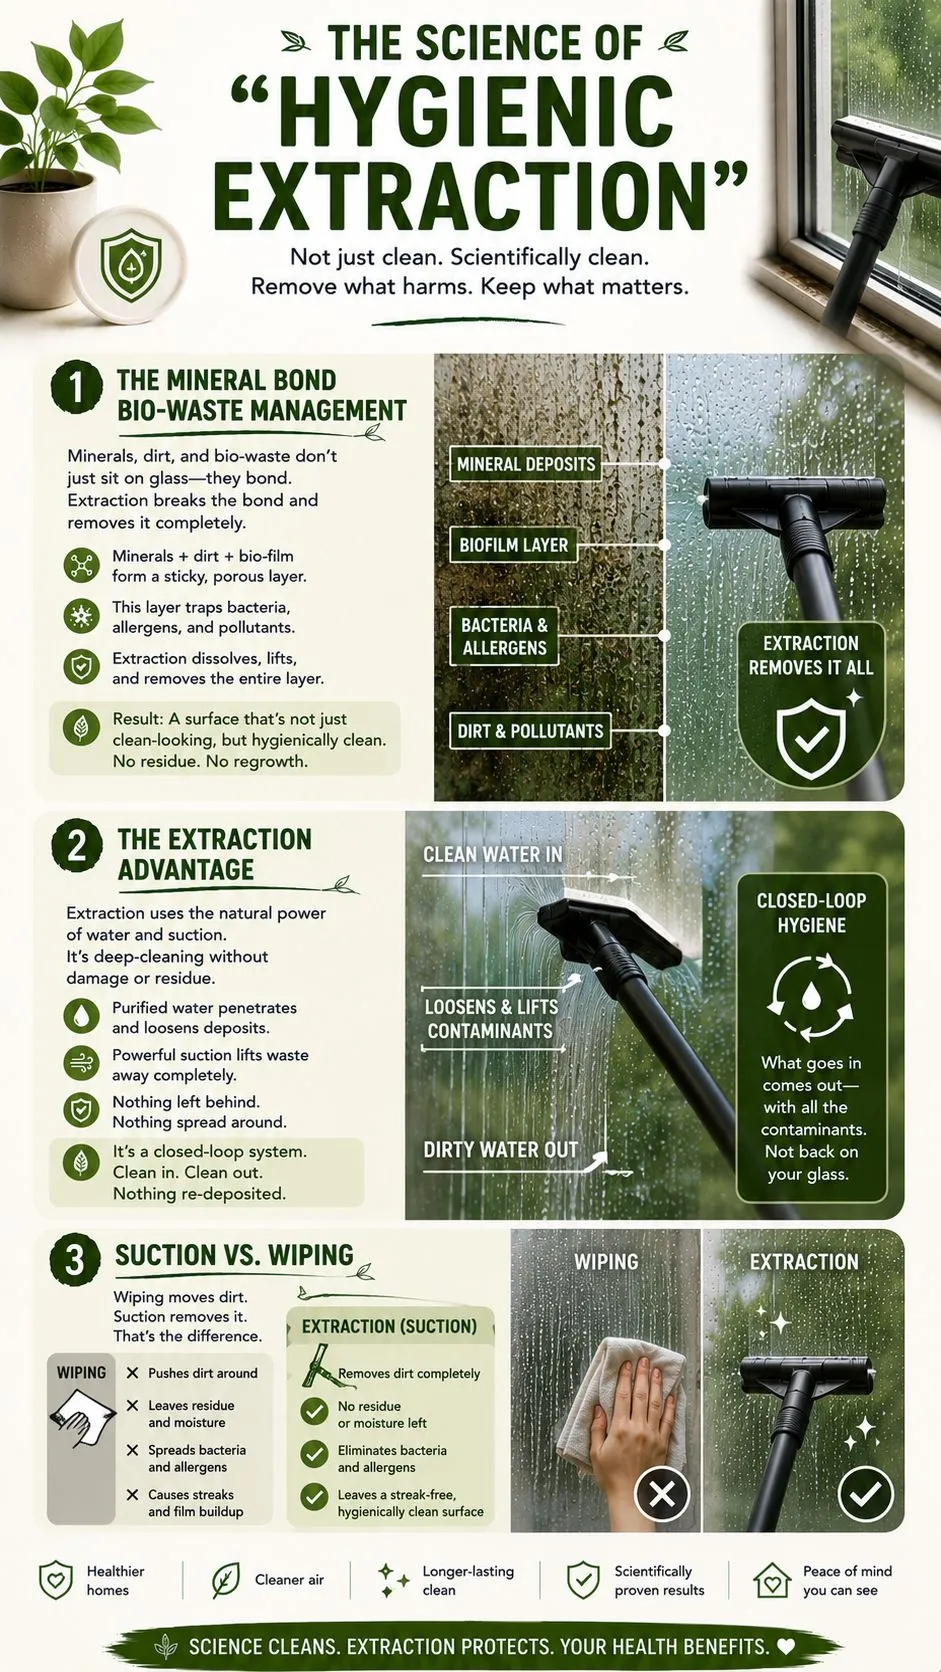
Wipe the milky residue away with a clean microfiber cloth. Shine a bright LED flashlight diagonally across the glass. You will see a crystal-clear, transparent window where the etched hazing used to be! If light spots remain, repeat the process for another 2 minutes.
Crucial Post-Polishing Step: Seal the Glass Immediately!
Polishing with cerium oxide strips away all mineral buildup, but it also leaves the freshly leveled glass completely bare and porous. If you start taking showers without protection, hard tap water minerals will re-etch the raw silica in just a few months!
Within 24 hours of polishing, you must apply a professional hydrophobic barrier. We strongly recommend reading our head-to-head comparison of EnduroShield vs. Rain-X shower door coatings. Applying a permanent silane treatment like EnduroShield chemically caps the raw silica pores, guaranteeing your restored glass stays crystal clear for up to 3 to 5 years.
Frequently Asked Questions (FAQ)
Can cerium oxide remove deep scratches you can catch with a fingernail?
No. Cerium oxide removes surface chemical etching, water spot corrosion, light wiper hazing, and microscopic swirls. If a scratch is deep enough to catch your fingernail like a groove, it requires staged diamond sandpaper grinding before final cerium oxide buffing.
Is cerium oxide safe for tempered glass shower doors?
Yes, 100%! Tempered architectural glass responds beautifully to cerium oxide. The only rule is to keep the surface continuously misted with water to prevent excessive localized thermal heat.
Can I use cerium oxide on tinted car windows or eyeglasses?
Only on bare exterior automotive glass! Never use cerium oxide on plastic eyeglasses, acrylic shower walls, or the interior filmed side of tinted car windows, as the abrasive will strip protective UV and anti-glare coatings.
Summary: Save Hundreds with a 30-Minute DIY Restoration
Etched hard water spots don’t mean your glass is ruined. With a $25 cerium oxide polishing kit, a standard cordless drill, and steady water lubrication, you can erase years of stubborn mineral etching and restore your glass to showroom brilliance in a single afternoon.
Pingback: EnduroShield vs Rain-X Shower Door Coating: Which Is Better?